Tutorial - Lemon Cane and Halved Lemons
Hi everyone!
Today I'm going to show you how I do my lemon canes. For most of you this isn't something new, but many still ask me how I do them, so here's the explanation!
I didn't invent this technique and I learned it from Angie Scarr. Though of course I adapted her technique for my work.
Materials:
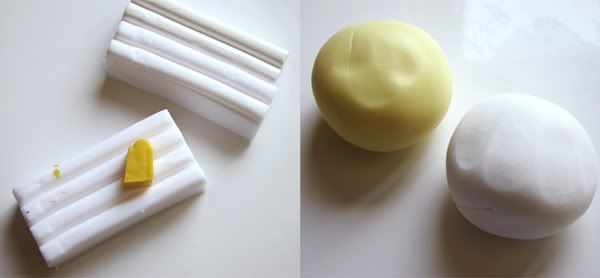
- fimo: white, translucent, yellow, green (7/8 blue + 1/8 yellow)
- toothpick, pin, razor blade
- sandpaper
- glaze/varnish
1. Mix 1/2 white + 1/2 translucent
Mix Translucent + tiny amount of yellow
Mix Translucent + tiny amount of yellow
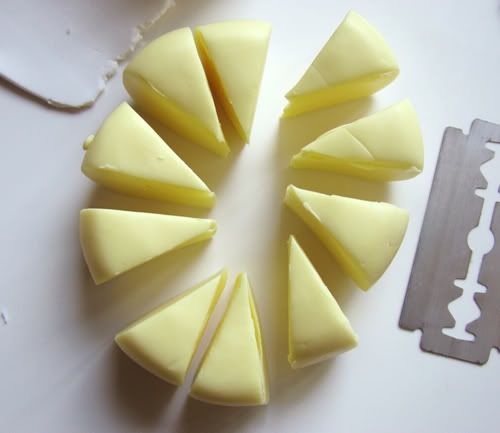
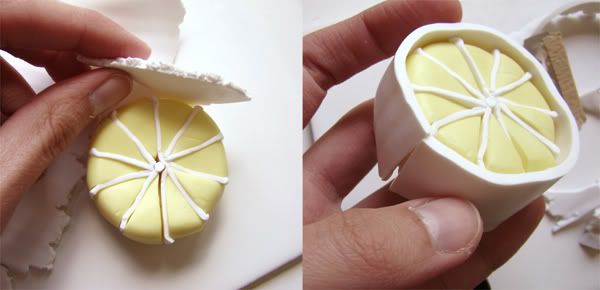
2. Shape the yellow mix into a ball and flatten it. The diameter should be approx 5 cm (2 inches). Cut in in 10 equal parts.
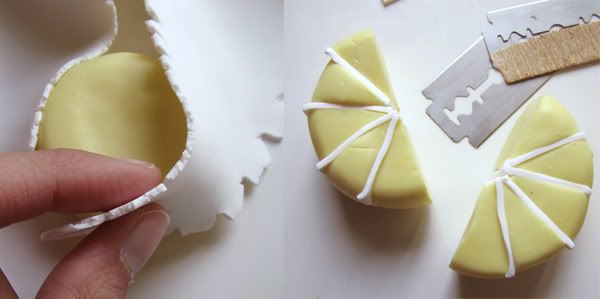
3. Using a rolling pin or a pasta machine (position 6) roll the white clay out and put it between the parts.
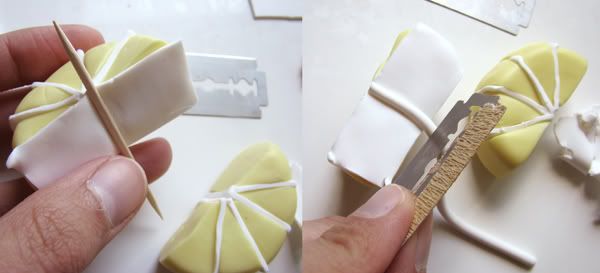
4. In the middle, shape a hole with a toothpick. Roll a white snake and place it in the middle of the lemon.
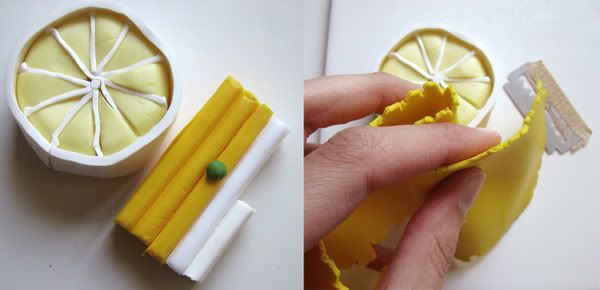
5. Using you pasta machine (position 2) or a rolling pin roll the white clay out and wrap the lemon cane with it. Make sure there are no bubbles (remove them with your blade) and that the clay don't overlay.
6. Now mix 2/3 yellow + 1/3 translucent + tiny amount of green (7/8 blue + 1/8 yellow) for the lemon skin.
Roll it out (pasta machine, position 7)
Roll it out (pasta machine, position 7)
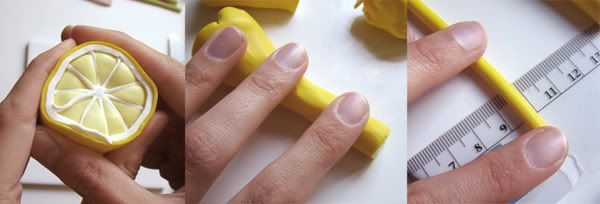
7. Squeeze and roll the cane until its diameter is approx 4 - 5 mm (0,16 - 0,2 inch.)
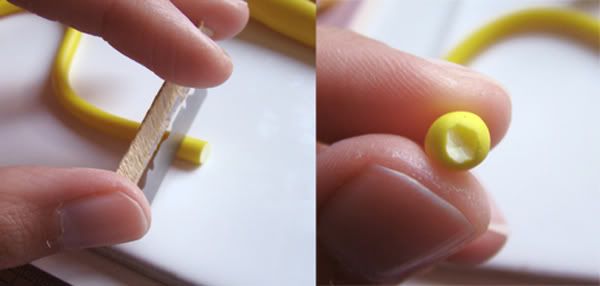
8. Cut approx 4 mm (0,16 inch) of the snake and close each side.
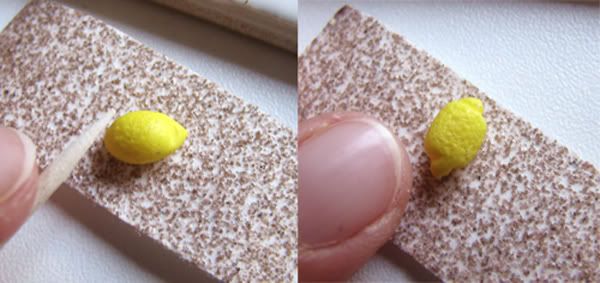
9. Using sandpaper and a toothpick roll the lemon gently onto it and shape the lemon.
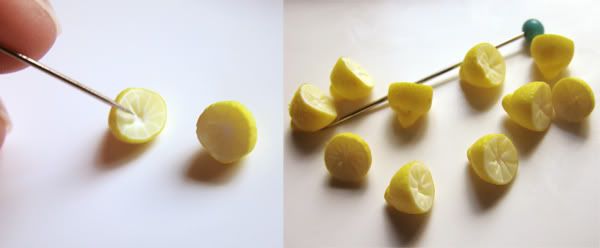
Bake accordingly and then varnish the flesh.
That's it, I hope it will help at least one of you :D
xx
Stephanie

